
The spaces in-between tiles need to be protected so that moisture does not get into the backing of the tiles causing damage and ultimately the tiles having to be replaced. This could mean just a few tiles being removed or with a lot of damage all of them. Tile grout protects against this because it keeps water and moisture out and also seals the spaces between the tiles. So here is your guide on how to grout tile step by step.
Tools And Materials You’ll Need For Grouting Tiles
For the process of grouting tile(mixing, grouting, cleaning up) you’ll need: 1 bucket for mixing grout, 1 bucket for water, 1 margin trowel, 1 grout float, 1 grout sponge, 1 scouring pad, and tile grout. Luckily these are all very inexpensive.
Things To Consider And Remember Before You Start
Take Your Time: While applying tile grout is not a very difficult task, it is one that is very important and care should be taken to make sure it is done correctly. Unfortunately, many homeowners simply don’t realize just how important it is and try to race through doing as quickly as possible.
Understandably they want to get done with this step because they know they are almost finished with their tiling project and want to be able to enjoy the benefits of it. However, a bad grouting job can really take away from an excellent tile installation. That being said, if you do a really good job it can also go a very long way in making a bad tiling installation look much better. So basically take your time and do it right, don’t rush through it.
Let Adhesive Dry First: Make sure that your tile adhesive has had ample time to dry, at least 12 hours. If grout is applied over damp tile adhesive, it may cause your grout to become discolored.
Don’t Make Your Joints Too Wide Or Too Thin: Joints that are too wide can visually be too intense and take attention away from your tiles. The wider they are the bigger the risk of cracking as well. About ½” is a good maximum size. Joints that are too thin can be difficult to fill with grout properly and that can mean water damage. It’s a smart idea not to make them any thinner than 1/32”.
Sanded vs Unsanded Grout: Sanded grout is typically used on larger joints (anything wider than 1/8”). These larger joints need the extra strength and cracking resistance that sanded grout provides. For smaller joints, as well as when using soft stone tiles which are easily scratched, you should use unsanded grout.
Keep Your Grout Cool: The optimal temperature for tile grout to be applied is between 65-75 degrees Fahrenheit so don’t leave it somewhere too hot or too cold just before starting the job.
Prepping Your Space
Remove All Tile Spacers: Even if the brand of spacer you are using states that you can leave them in the joint, you shouldn’t do so. It’s smarter to simply remove them because of the fact that the thin layer of grout covering them will end up curing in a different color than the rest of your grout.
Make Sure Your Joints Are Clean: A good vacuuming will ensure your joints are clean, free of dust, debris, and dried adhesive, and ready to be grouted.
Find Out If Your Tiles Are Vitreous Or Non-Vitreous: Vitreous means they will absorb water, while non-vitreous means that they will not. This is an important question because if you are using non-vitreous tile, you must take one step first to prevent your tiles from absorbing the moisture in your tile grout. Using a damp sponge simply make wipe down both the edges and faces of your tiles, however, don’t soak them as this can ruin the grout.
Mixing Your Tile Grout
While many people recommend using a drill with a mixing paddle attachment it’s better to mix by hand. This is because when using a drill, air ends up being churned into the grout and this can cause weakness and discoloration of your grout. To mix grout by hand all you need is a bucket, a margin trowel, tile grout, and some water. Simply add some grout to your bucket and pour a little bit of water in.
Using your hand trowel, mix the grout with the water and tip the bucket at a 45-degree angle. Roll the bucket with one hand while you are mixing with the other. Add water in small amounts until the mixture is similar to creamy peanut butter, in consistency. Be careful not to add too much water.
Next, you’ll want to let it slake. Let it what? This just means to let it rest for about ten minutes giving the grout, water, and chemicals time to start really mixing together. Your grout mixture will feel like it is much stiffer after this, but it’s important you don’t add more water to it. Just give it a good mix again with your margin trowel and you are ready to grout.
Applying Tile Grout
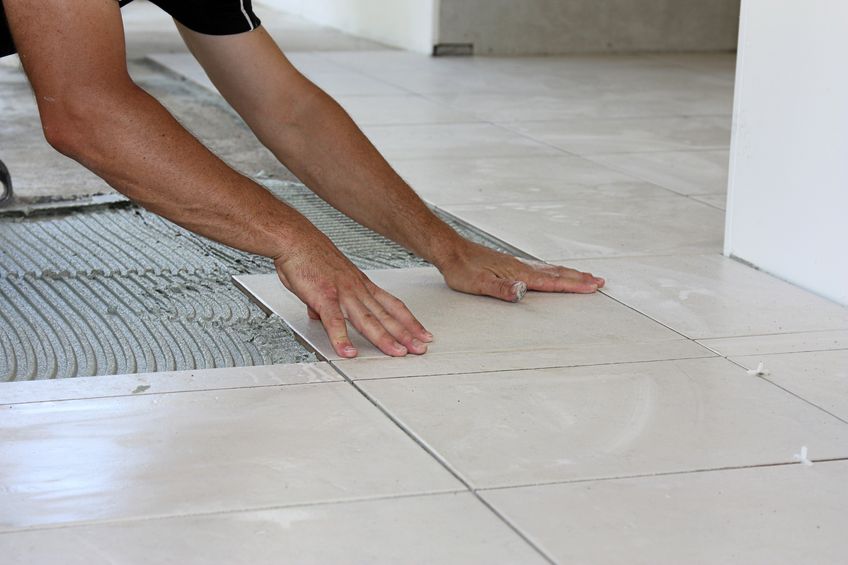
Step 1: For floor tile, tilt your bucket and with your margin trowel dump out a bunch of grout, enough to grout a small section, onto the surface of the tiles. For wall tiles, just take out a scoop and apply it to the wall.
** You will be grouting about 10-20 square feet at a time section by section and cleaning that section when you’re done. (This will prevent you from having to spend much longer cleaning up if you are using fast-setting grout that happens to set before clean up.)**
Step 2: Using your grout float, hold it at a 30-degree angle to the floor and push the grout over the surface of all the tiles and into the joints, making sure to push the grout between the tiles so that it is tightly packed. You want to fill all the spaces between the tiles as well as the tile and its adhesive.
Step 3: Repeat step 2 two to three times.
Step 4: Remove the excess grout from the tiles by holding your grout float at an 80-degree angle to the floor and moving across the surface of the tiles as well as the joints to remove the excess. Be sure to do so at an angle to the joints, if you move your grout float straight down or across in line with the joints you can end up raking out the grout with the edge of your float.
If this happens just apply more grout as in step two and then remove the excess again.
Step 5: Wait for the grout to start to set before moving on to clean up. This usually takes anywhere from 5-20 minutes.
Time To Cleanup
The most important part of cleaning up is actually knowing when to do so. You don’t want to do it too soon when the grout hasn’t set enough, and end up pulling grout out of the joints, and you don’t want to wait too long and have the grout harden and be forced to scrub your tiles forcefully and end up damaging your grout in the process. So the goal is to start cleaning somewhere in the middle.
Step 1 (Test To Make Sure It’s Ready): With a damp grout sponge that has been wrung out as much as possible, wipe across the surface of the tile and joints. If the grout in the joints is solid enough to not be disturbed by this, you can begin to clean. If it isn’t, simply wait a few minutes and test it again.
**If you have waited too long and the grout is already hard on the tiles, use a scouring pad to scrub off the excess grout. Be sure to test your pad on a piece of scrap tile first to be sure it doesn’t scratch your tiles. (Scotch-Brite sells a non-scratch scouring pad that is perfect for this.) Wipe the area with a damp sponge and move on to step 2.**
Step 2 (Basic Surface Cleaning): For this step, you need your grout sponge and a bucket of clean water. A sponge with rounded edges is a good idea as square edges can gouge the grout in the joints. Dip your grout sponge in the water and then wring it out as much as possible.
Be mindful not to gouge the joints, start to sponge in a circular motion. When the first side of the sponge becomes full of tile grout, flip it over and use the second side. Rinse your sponge and wring it out completely in the bucket of water when the second side is full. Repeat these two or three times as needed.
Step 3 (Shaping And Cleaning The Joints): With your clean and wrung out sponge, this time move in a motion parallel to the joints and wipe down any high spot, pushing down gently with your finger on top of the sponge can help. If there are any low spots you may have to add a tiny amount of grout with your finger. The goal is to make all the joints flat and level, if they are concave it’s okay but they should not be convex.
Step 4 (Final Cleaning): When all your joints are clean and flat, and your sponge is clean and wrung out, use two hands to slowly pull the sponge vertically to you across the surface of the tiles. When your sponge reaches you, flip your sponge over and do the same thing parallel to where the first sponging left off. Rinse your sponge and repeat this for the whole area being cleaned.
*If in going over the joints grout is pulled out, this means that the grout is too high and needs to be made flat, so repeat step 3 for that joint until it is flat. *
Step 5 (Touch It Up): Wait about twenty minutes and with a clean and soft rag buff the tiles lightly to remove any grout haze.*If there is any further grout residue remaining, use your scouring pad to remove it. * You should give your grout about twenty-four hours to dry and that means not walking or stepping on freshly grouted tiles.
Protecting Your Tile Grout
The best way to protect your tile grout is by using a sealant. Sealants are best applied after your grout has set, this should be about five days after grouting. They prevent staining and help water to evaporate from the grout so it does not cause any damage.
Many of these are very easy and convenient to use because they come in a spray bottle. Just spray the sealant on the grout making sure not to get it on the tiles. If you do wipe the tiles with a damp cloth, this will prevent a haze from forming on the tile.
Extra Tile Grout Tips
-Don’t throw away all your extra grout. Extra grout can be used for easy touch-ups in the future. Just remember to keep it in an air-tight container because it will absorb any moisture.
-Use caulk on edges, not grout!! Don’t grout the edges of tiles that touch the base of walls, showers, tubs, sinks, and cabinets. Use caulk instead. If you use tile grout it will end up cracking in the future. (If you are using colored grout, not to worry as you can match the color of your caulk to the color of your colored grout).
-Choose your grout color carefully. Just remember that light-colored grout is great for highlighting the color of your tiles but it also shows dirt very well too. Very dark-colored tile grout is used not to highlight the color of tiles but tile patterns. Gray grout is a popular choice because it looks great and makes it harder to see dirt and stains.
You can always change the color later. If you end up not liking the color of your grout with your tiles you can always use a grout colorant to dye it another color.
Three Ways to Clean Tile Grout
1)Vinegar And Baking Soda
This is a natural tile cleaner that you can whip up without having to go to the hardware store. Vinegar and baking soda is a great mix since vinegar can remove dirt and grime while the abrasive nature of baking soda can help remove harder stains that may have stuck to the crevices in the grout.
The solution is non-toxic making it suitable for those who want to use safe and natural cleaning products at home. You can create a vinegar and baking soda spray and cover the entire grout surface before you start brushing.
Wipe the area afterward with a moist cloth to remove the grime and wipe off any traces of vinegar smell. You can also hose down the grout with water for a quick and thorough rinse.
2)Hydrogen Peroxide Paste And Baking Soda
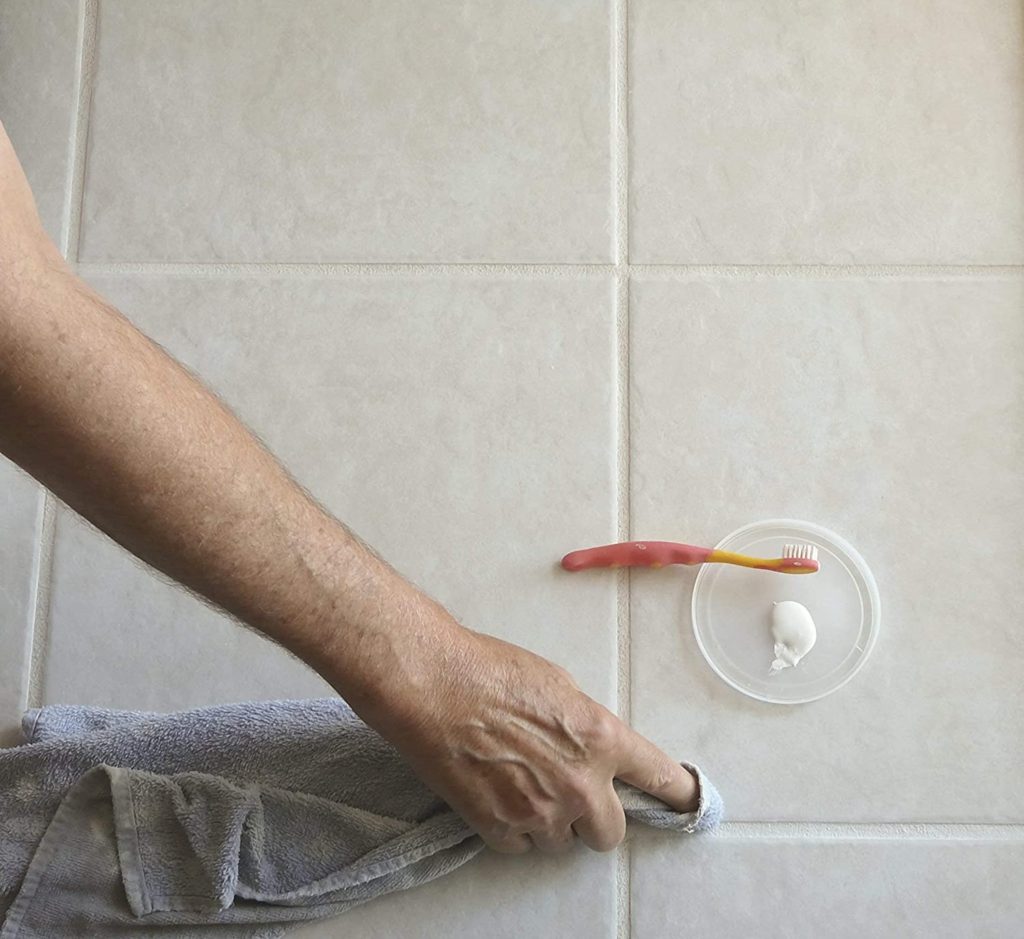
You can make a paste out of hydrogen peroxide and baking soda and apply it over the grout. Let the paste sit for a few minutes before starting to scrub using a toothbrush. Use a damp rag to wipe the paste after you are done brushing to reveal shinier, cleaner tile grout.
Hydrogen peroxide is extremely popular as a DIY pot and grout cleaner because it can lift out tough stains and crud after just a few minutes from application. It is also very cheap.
3)Oxygen Bleach
Oxygen bleach is a good way to remove dirty stains and bacteria from the grout. Mix the bleach powder with water to make it easier to work with and start pouring or spraying the solution onto the problem areas. Oxygen bleach is non-toxic so it is safe for homes with pets or young children.
Make sure to cover the grout with the solution and leave it on for about 10 minutes before you start scrubbing. Mop the excess moisture afterward to reveal cleaner grout and tiles.
It is important to note that before you start applying these solutions, the grout and tile surface must be clean and free of dirt or debris. Clean the surface area with warm water before you start focusing on removing oil stains and grime from the grout.
What To Use To Cut Tile
Buy on Amazon Most tile projects will require cutting of some type. There are a few different tools to help you get the job done quickly and easily. So if you’re wondering what to use to cut tile, here are your options. Tile Nippers One of the most basic tools for...
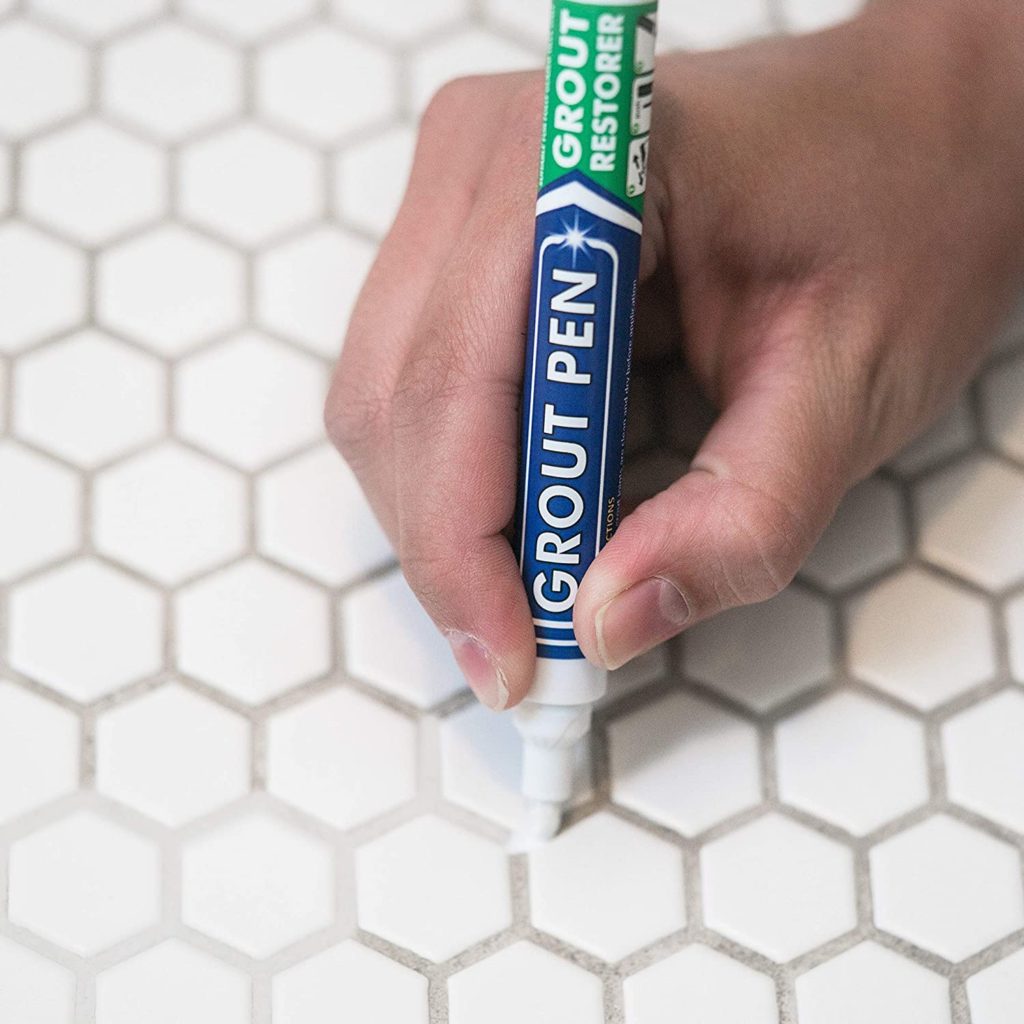
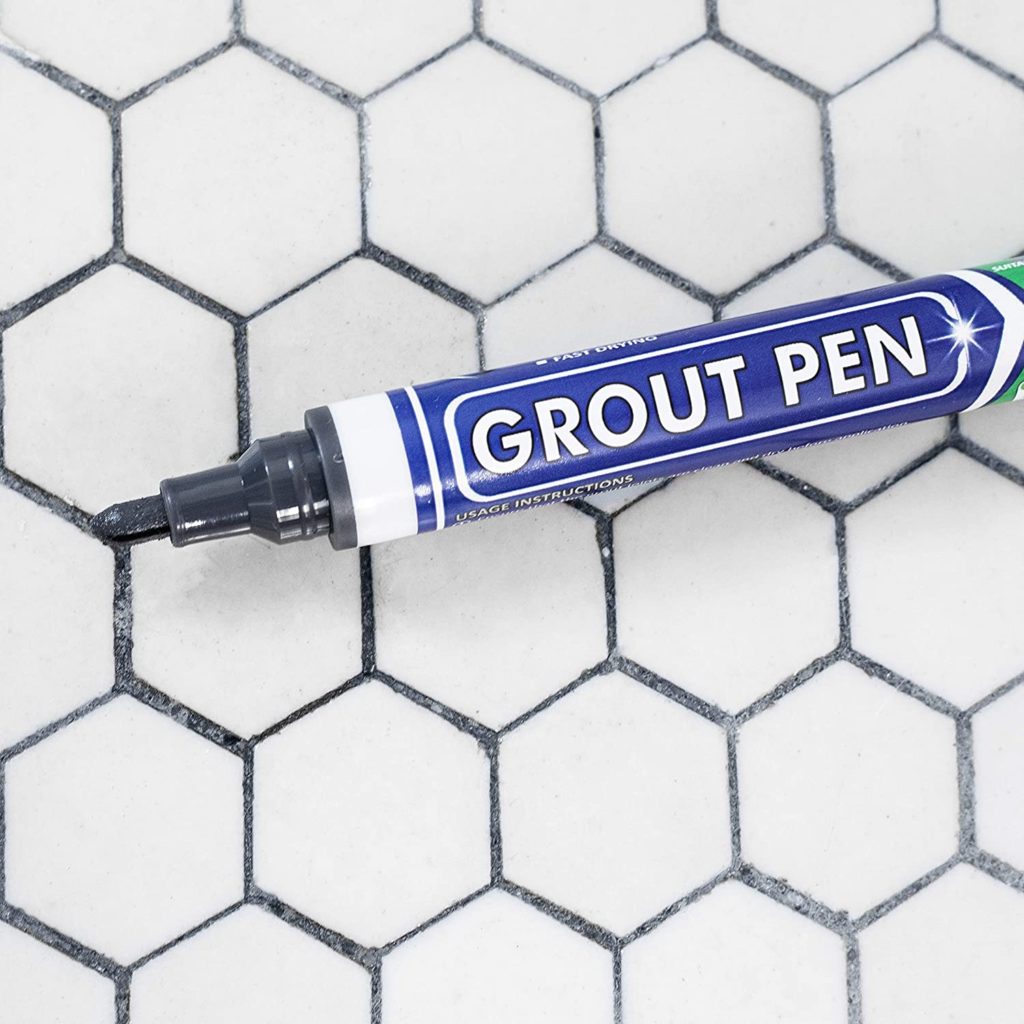
Grout Pen Basics For Guaranteed Success
Buy on Amazon Dirty and dingy grout lines are an unsightly problem. They take from the look of any space and can be downright embarrassing. But with the help of a handy little tool, anyone can make them look like new. A grout pen will give those lines a fresh and...
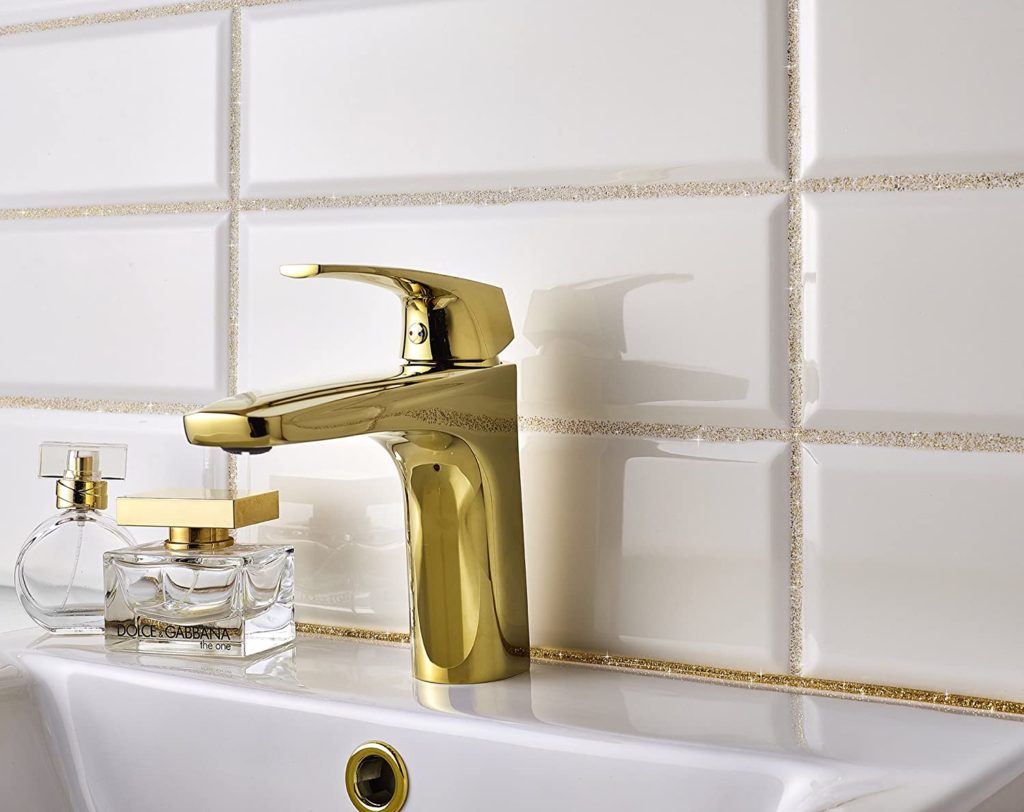
The Insider’s Guide To Glitter Grout
Buy on Amazon How can you bring your dull-looking grout to life and make it sparkle and glimmer with style? With glitter grout of course! Here’s what you need to know about this wildly popular new option that’s taking walls and floors by storm. Standard Grout Has A...
Add Extra Color To Your Tile Installation With These DIY Tools
Buy on Amazon There are quite a few different ways to add that extra touch of color to your tile project. This could be to make an old installation look new or make sure a new installation looks fantastic from the start. Here are the top tools you can use to get the...
Getting Started With Tile Cutting Tools
Buy on Amazon When working with tile you will often need to make cuts. There are a few different tools you can use depending on what you are doing. Here’s what you need to know about the three most useful choices. Tile Nippers Sometimes you may need to take small...
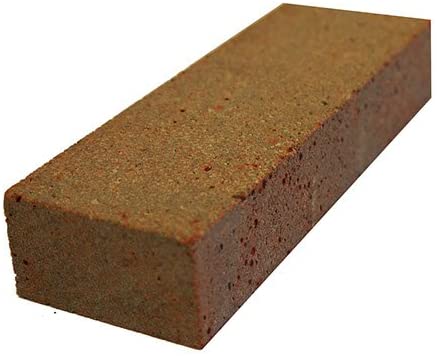
Stay Safe And Keep Tile Smooth With A Rubbing Stone
Buy on Amazon A tile that has just been cut can have razor-sharp edges. These edges can produce some very painful injuries if not handled with care, and even when they are, accidents can happen. You can help to avoid injury by using a simple tool known as a rubbing...
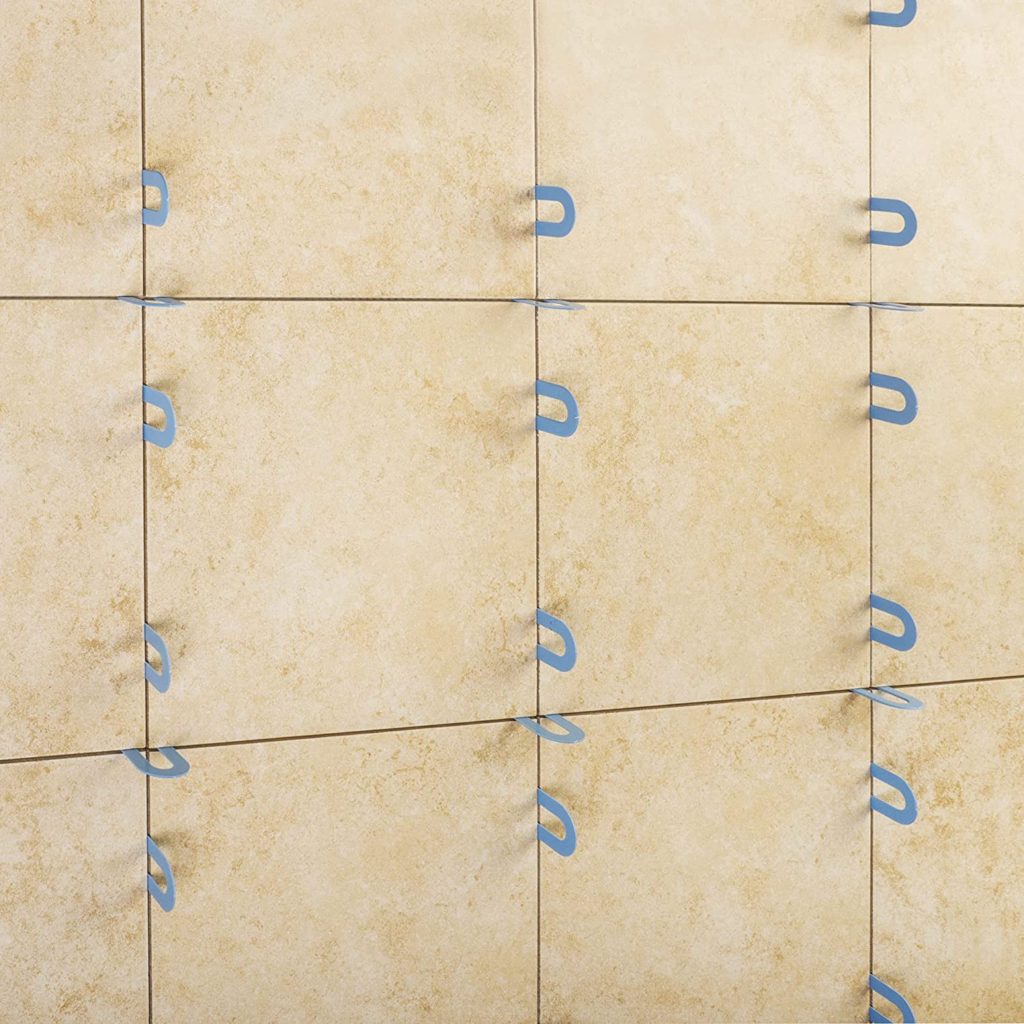
The Essentials Of Tile Spacers
Buy on Amazon In the past rope, nails, screws, and even sticks were used to keep tiles equidistant from each other during installation. Luckily by the nineteen fifties the need for much more reliable and convenient spacers for tiles helped to bring about the creation...

Caulk For Tile Projects
Buy on Amazon In the main body of a tile installation grout is used in-between the tiles. However different materials naturally expand, contract, and move. These processes can cause tile grout to crack or even cracked tile if the grout is used where two different...
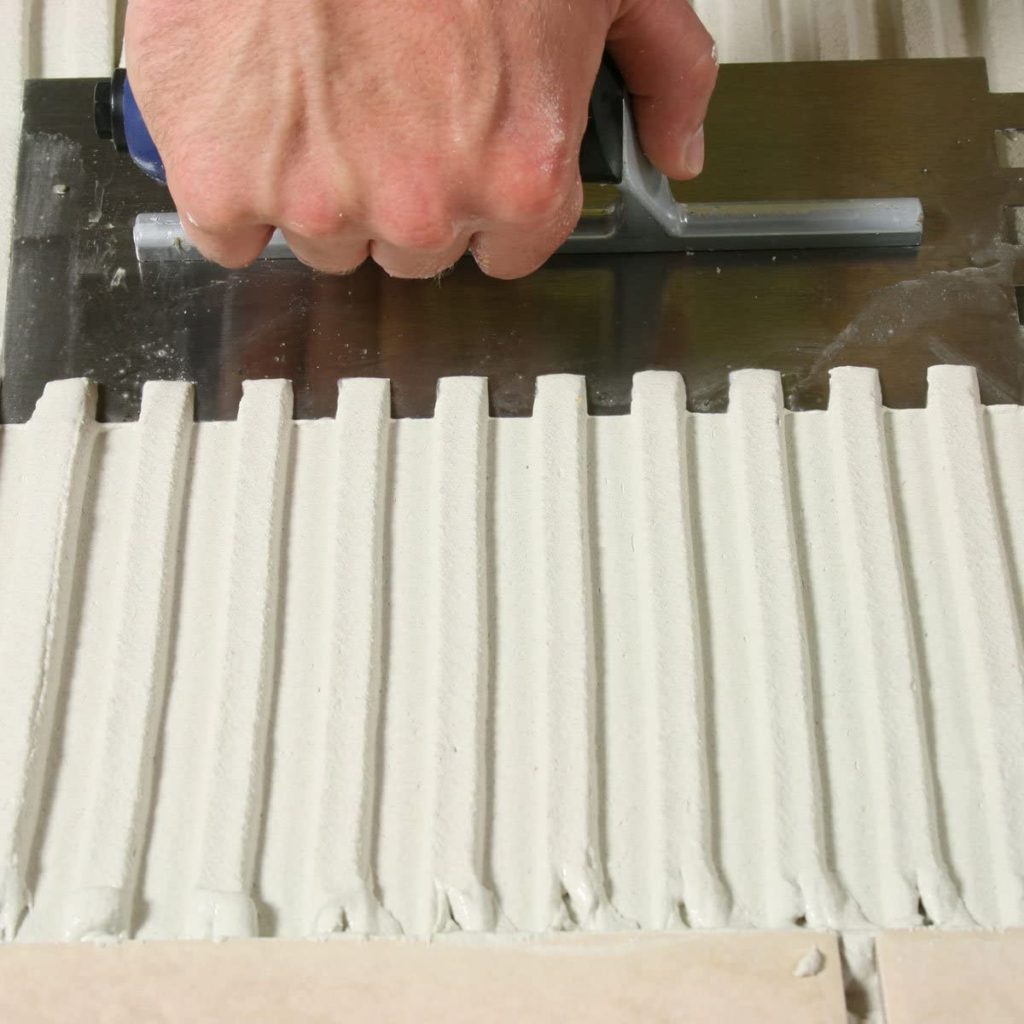
Tile Trowels To Get The Job Done Right
Buy on Amazon Trowels are a necessity for completing all tiling projects. But of course, you will have to make sure you have the right one for the job at hand to make sure it is a success. So here’s what you need to know about tile trowels before getting started....
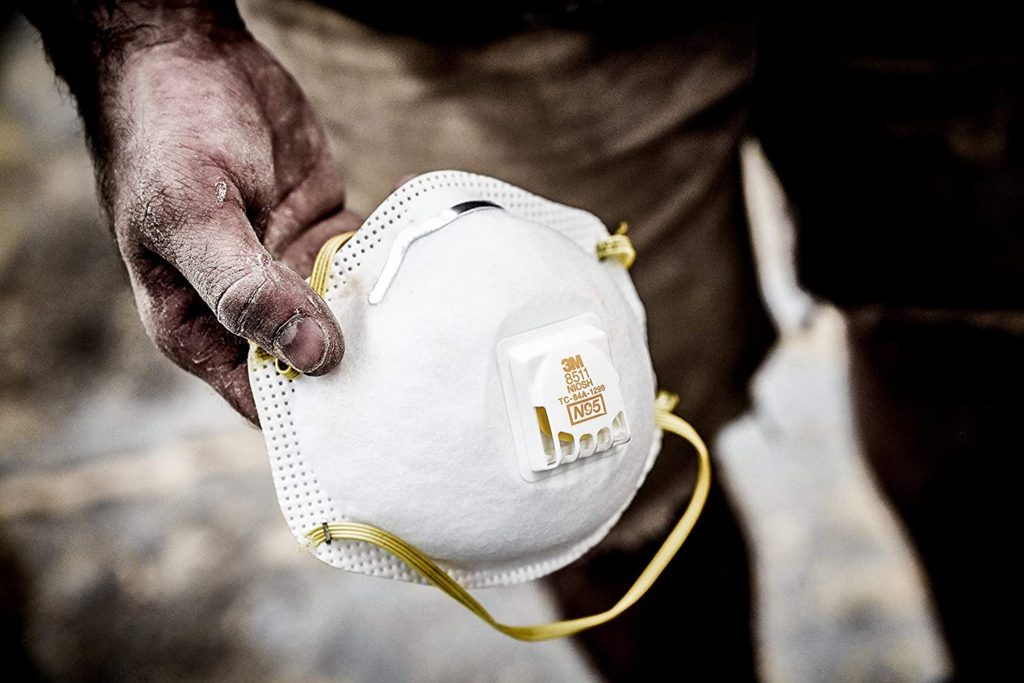
Your Basic Tile Safety Kit
Buy on Amazon When working on any kind of home improvement project safety should always be taken seriously and with tile, it is no different. This should be the case regardless of how big or small the job. In fact, more often than not, it is when completing smaller...
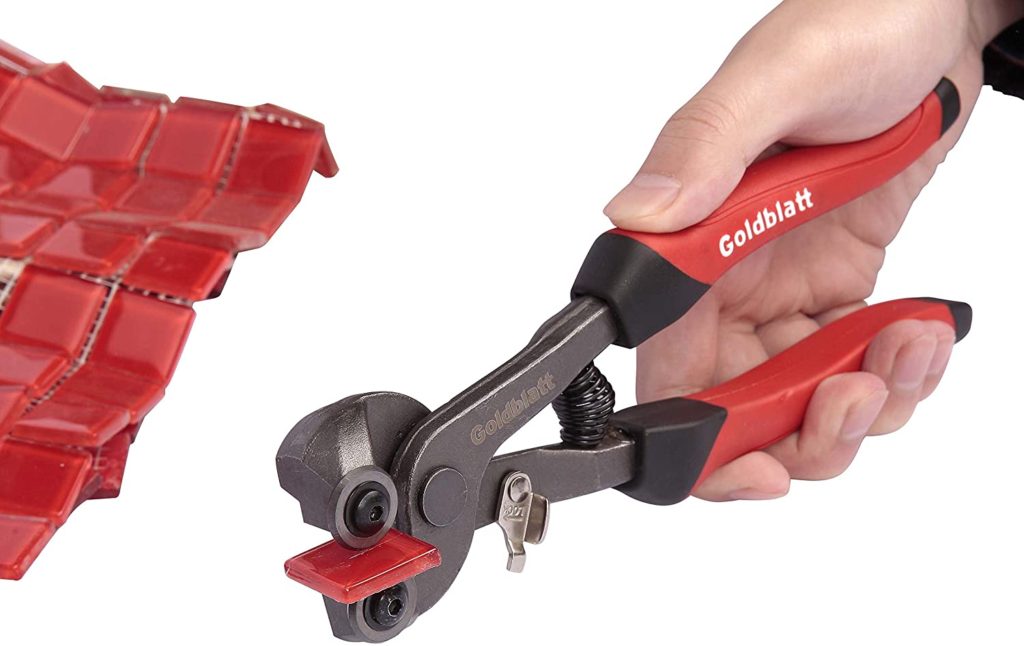
Tile Nippers A Must Have Tool For Every Project
Buy on Amazon Every tile setting kit needs a pair of nippers. These basic hand tools are a necessity since virtually every project will need at least a few simple curved cuts. When you need to accommodate things like toilet flanges, faucet valves, doorcases or any...
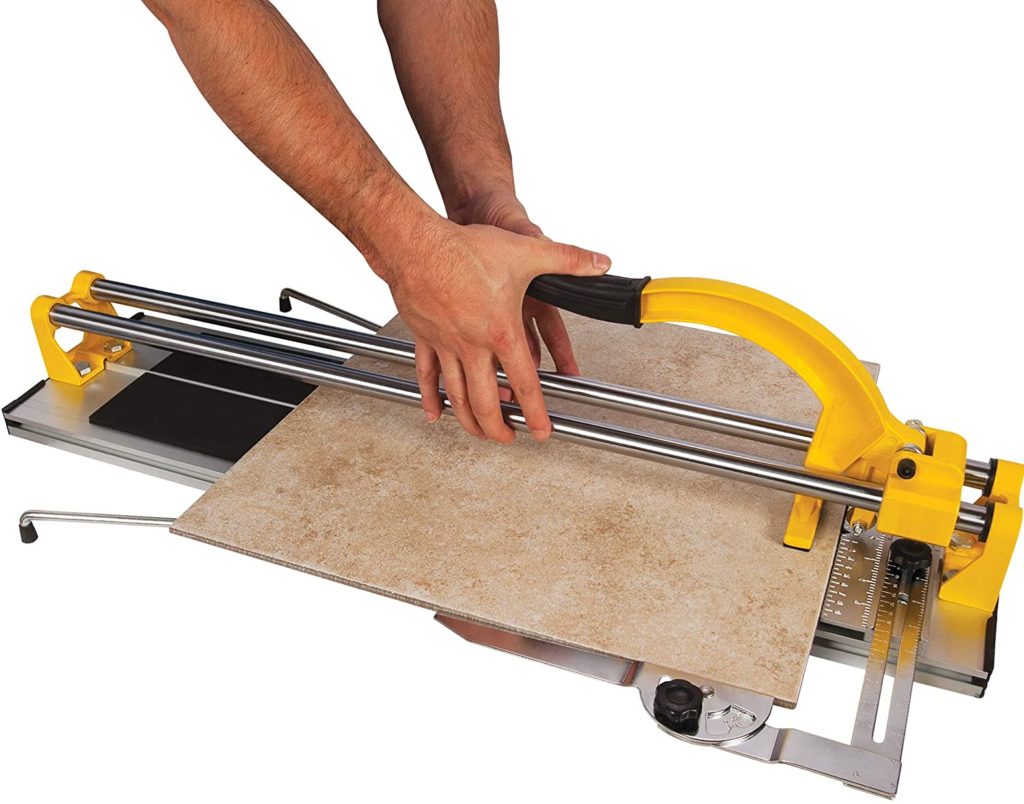
A Tile Cutter Makes Cutting A Snap
Buy on Amazon Just about all tile installations will require cutting. However, you don’t necessarily need to purchase a tile saw if you will be completing the project yourself. For jobs that won’t demand an extremely large quantity of cuts or very heavy tile, a tile...
Bring New Life To Your Tile Grout With Grout Colorant
Buy on Amazon As your tile floor, wall, or countertop ages it’s inevitable that at some point its grout will become stained or discolored to the point that no amount of scrubbing or cleaning will help. Light or white-colored grout is particularly vulnerable and this...
Tile Adhesive: Everything You Need To Know!
When installing tile, you'll need to use the appropriate tile adhesive. So here is your complete guide, with everything you'll need to know in order to make sure you choose the right one and ensure your project is a success. Tile Adhesive Basics Tile adhesive is...
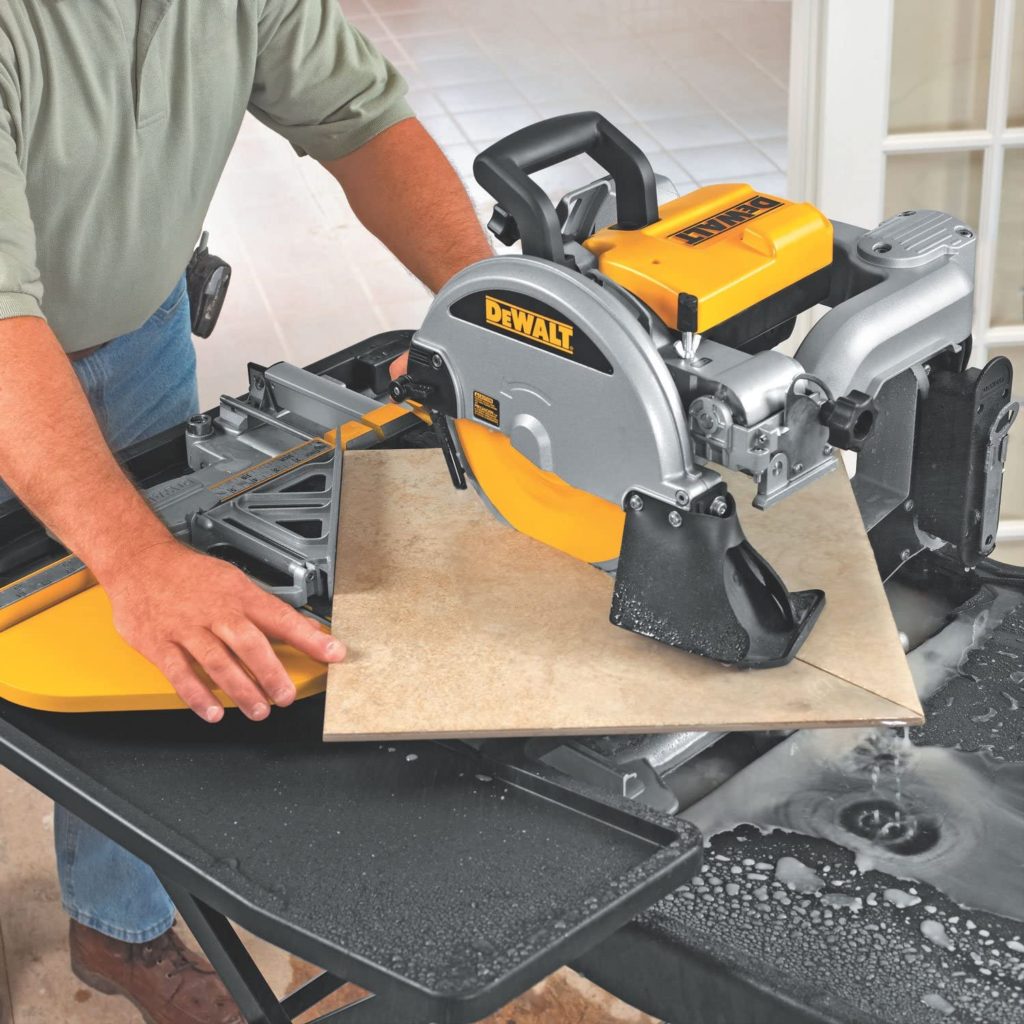
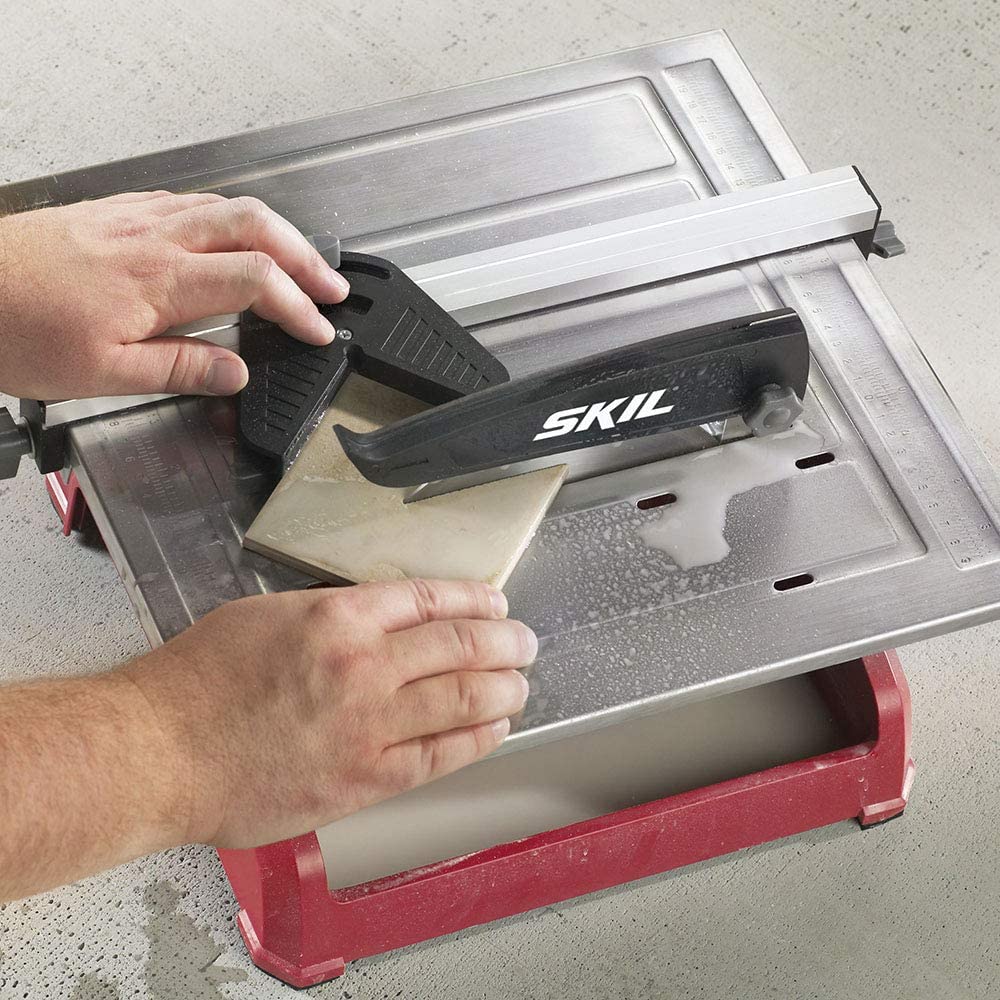
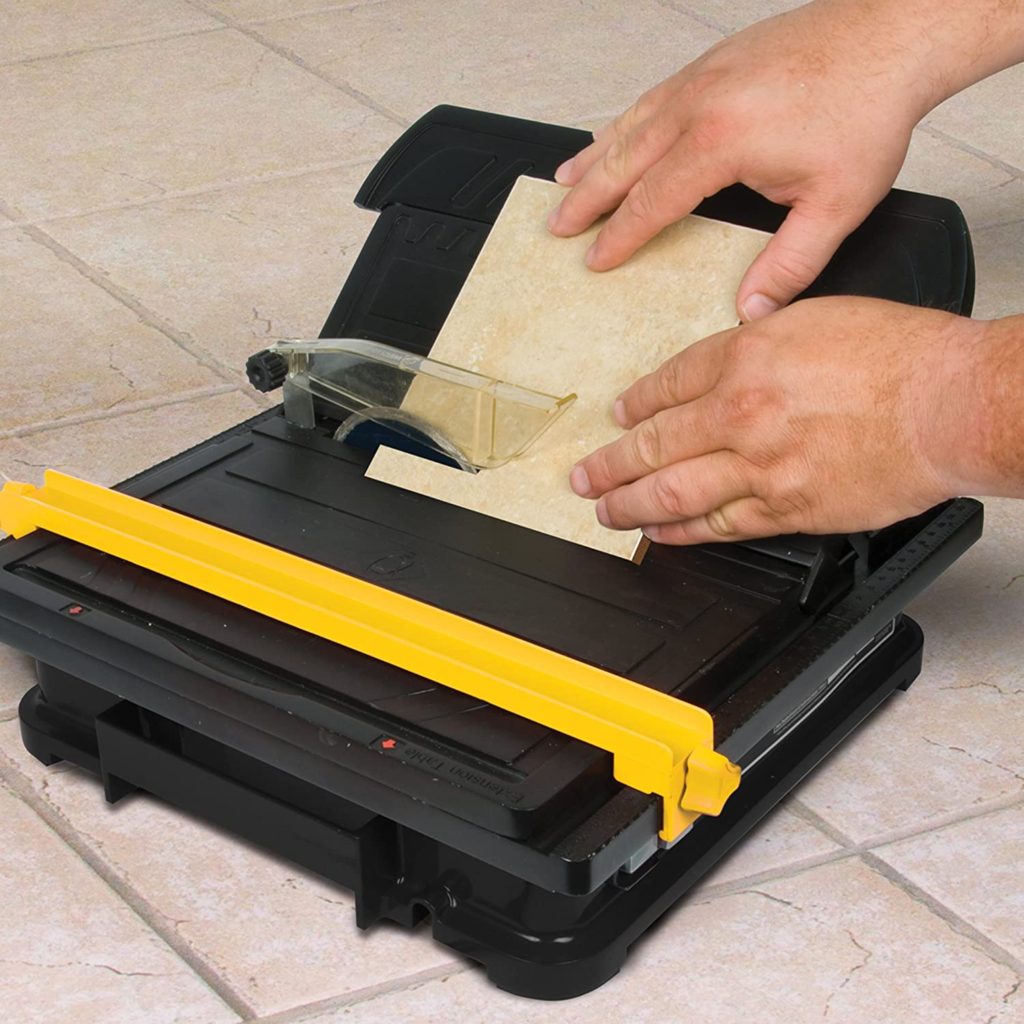
The Tile Saw: A Quick Start Guide!
Buy on Amazon Just about every tiling job requires cutting tile. What you will be cutting, how much, and in what manner will determine the tool you use to cut with. Most of the time the easiest and most efficient option is a tile saw. While they may look similar to...