
There are many reasons you might need to remove a single or even multiple tiles. The good news is you don’t need to pay someone else to do it for you. While it might require a little “elbow grease,” tile removal is a very simple DIY repair that any homeowner can do themselves.
Step 1: The Most Important Step
The most important step in floor tile removal, wall tile removal, or any type of tile removal is making a proper diagnosis of why the tile needs to be removed in the first place. Doing this can save you a lot of time as well as money because the reason for removing your tile will help you determine whether you need to remove a single tile, a few tiles, or possibly all the tiles.
The most common reasons to remove and replace tiles are typically: water damage to the substrate (what the tile is bonded to), improper installation, not enough backing on the tile to keep in place, dropping a heavy object on the tile causing it to crack or break, and normal wear and tear.
Typically if there is no water damage to a larger number of tiles you will only need to remove the affected tile or tiles making it an easy task. If there is water damage to a large area of tiles you will have to remove all the tiles but that too is manageable.
Step 2: Gather Your Tile Removal Tools
For this project, you will only need a few tools and you probably have them in your house or toolbox already. These are safety glasses, work gloves, a hammer, a chisel, and a utility knife. While many people tend to not use safety glasses, they are always a smart idea when working with tiles.
Pieces of tile can be extremely sharp and while the odds of having one hit you in the eye are very low, it’s better to be safe than sorry especially when your eyes are concerned. The edges of tiles can whether broken or not can be razor-sharp so it’s always a good idea to wear heavy work gloves when handling them as well. They should definitely be used when removing a large number of tiles.
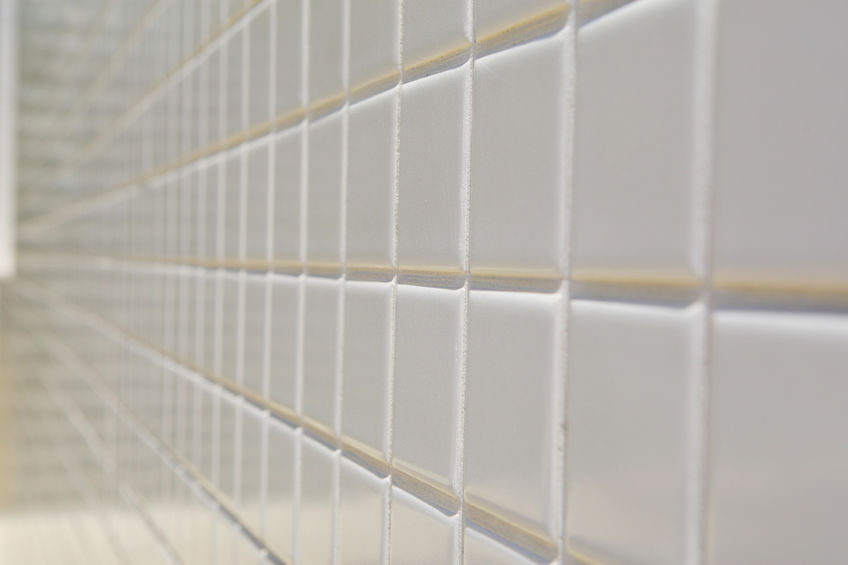
Step 3: Remove The Tile Grout
Using your utility knife, cut out all of the grout around the tile you are going to remove. If you are removing multiple tiles that are next to each other you only need to cut around the perimeter of the tiles you are removing, not around each individual tile. The goal is to have no grout connecting the tiles which will be removed to the remaining tiles because if they are connected they are at risk to break during the removal process.
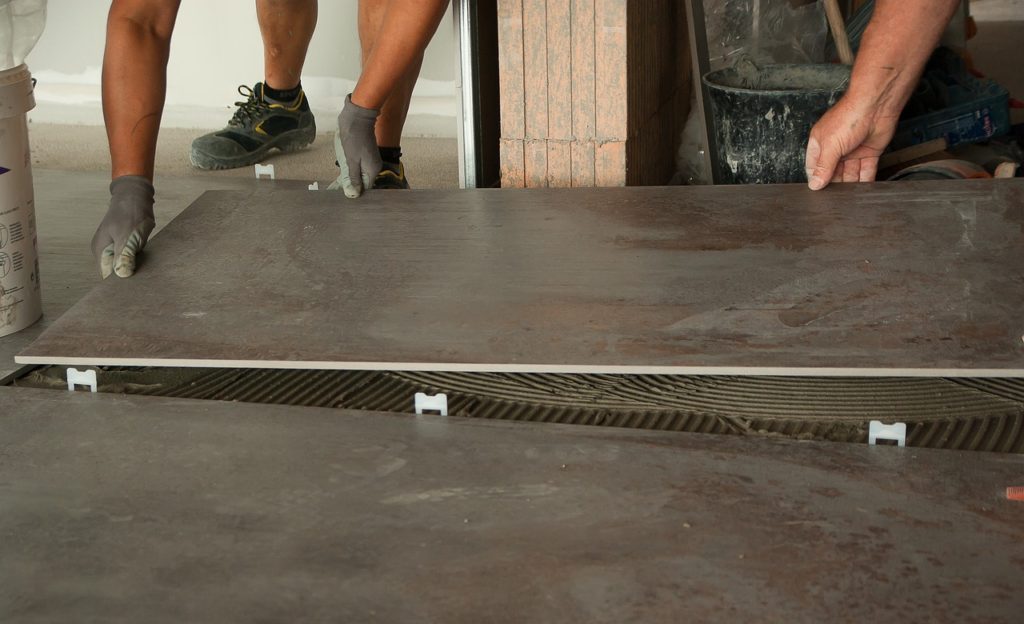
Step 4: Break The Tile
Place the tip of your chisel on the tile you are planning to remove so it is perpendicular to the tile, and using your hammer, hit the base of the chisel. The goal is to break the tile and remove it in small pieces. To do this, it’s best to hit the chisel in a sharp short blow as opposed to extremely hard and powerful. Some tiles may need a few hits in order to break them up and remove them.
Step 5: Touch Up the Area
The last step in tile removal is to touch up the area you removed the tile from. This means using your utility knife to remove the entire adhesive that is still remaining on the setting bed that the tile was attached to. This is very important because if it is not removed and the new tile is set in place it will be higher up than the rest of the tiles.
You also need to use your knife to remove any remaining grout on the adjacent tiles giving them a clean edge for when new grout is applied. As you can see, tile removal is an extremely easy task. State the reason the tile must be removed in order to help you decide how many tiles need to be removed, gather your tools, remove the grout, break the tile, and then touch up the area in preparation for installing the new tile.
Extra Tile Removal Tips
-When breaking tiles a two-hit approach can help you to do so faster. Hitting the tile first perpendicular but then at an angle on the second blow can help you to be able to get under the tile and able to pry it out with your chisel.
-Always try to use the same brand of tile adhesive that was used when the tiles were originally installed. If you’re not sure or can’t remember what brand you originally used, try to use the same type of tile adhesive like thinset adhesive or organic mastic.
-When removing a large number of tiles or tiles with very wide grout lines, try using a tile grinder for even faster grout removal.
-Keep an eye out when cleaning or maintaining tiles for degrading grout, cracks, and loose tiles. so that these small and inexpensive problems
-Tile removal is an easy task so don’t put it off. If you do it could end up costing you more especially in cases where water damage has occurred to the substrate below the tiles. This can easily happen in places such as the bathroom where water can easily enter into small cracks or deteriorating grout.
The Top Tips For Tile Countertops
Buy on Wayfair Countertops are an important space in any home. In the kitchen, they are where we prepare meals, wash up, and even store extra items. And of course in the bathroom, they serve as a place to help us get ready for the day and retire for the night. Even...
Choosing Your Tile Color
Buy on Wayfair The tile color you choose is one of the most important decisions you can make for your project. It can make a huge difference in how your home looks and feels and can even be a factor if there comes a time in the future when you would like to sell your...
A Quick Glossary Of Tile Terms
There can be a lot of new terms that come up when purchasing or planning to install tile in your home. So we've compiled a quick list of some of the most commonly used tile terms along with their definitions to help you on your way. Let's get started! Back Buttering:...

How To Touch Up Your Tile On A Dime
Buy on Amazon Chipped and cracked tiles can be a major eyesore. They not only take away from the look of your installation but from the room as a whole. However, oftentimes you can get away without having to remove any tile whatsoever, saving you time and money. When...
Water Stains: A Sign Your Tile Installation May Have A Problem
There are a few clues that can help to show you that your tiling project may have a problem. Water stains in particular can be a dead giveaway that tiles that have been installed in a wet area like a bathroom, have a problem. Even if the stains have just recently...
The Best Practices For Dealing With Cracked Tiles And Joints
Adding tile to your home is always a smart decision and one that will add to its looks and function. However, sometimes problems may arise after the job has been completed. Without a doubt two of the most frequent are both cracked tile joints and cracked tiles. Here...

Six Wet Room Tile Design Tips
A wet room is a completely waterproof shower room that offers a more stylish and contemporary alternative to a traditional bathroom. They can be installed in virtually any home and are fantastic for increasing the value of a property. Tiling is one of the key design...
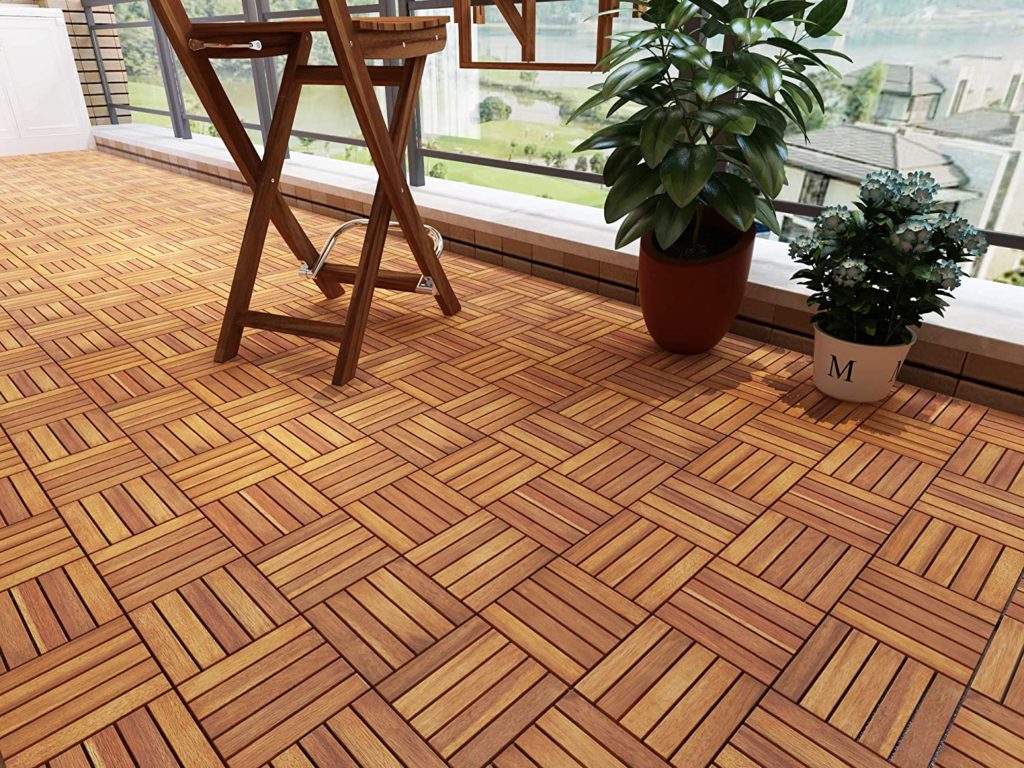
Deck Tiles: An Easy and Inexpensive DIY Option
Buy on Amazon A new deck or patio can not only be a very time-consuming project but also an expensive one as well. A much more convenient and inexpensive option are deck tiles. Made from a variety of great-looking materials these tiles are an easy way to give your...
Tiling Tips That Can Save You Time, Money, And Effort!
When purchasing, laying or working with tiles, a little good advice can go a long way. Most mistakes that cause you to lose time, money, and effort are easily avoidable. Here are some tips that could help you save one or all of these: -Before you start your project...

Larger Tiles Tend To Make A Small Room Appear Bigger!
Buy on Wayfair There are many tricks used by interior designers, builders, and contractors that can really affect the way a room is viewed. And while most homeowners don’t know about them, they are simple enough to be applied by anyone and can really work wonders to...

How To Estimate How Many Tiles You Need Quickly And Easily Without A Tile Calculator!
When purchasing wall or floor tiles, many people use a tile calculator program. However, not only do you not need one, its smarter for you to know how to estimate how many boxes of tile you will need by yourself, without the use of a computer...
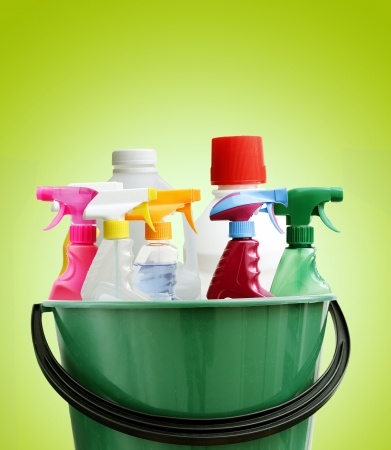
So What’s The Best Tile Cleaner? It’s Not What Your Mother Told You!
We’ve all seen nasty green grout lines and funky sticky tiles somewhere, and always promise ourselves it won’t happen to us. So what’s the way to keep the green monster at bay? It’s actually not the way your mom probably taught you! What Not To...
Rubber Tiles Made Easy!
Buy on Amazon While rubber tiles are not known for their beauty or stunning appearance, that’s not what they’re built for. Instead, these tiles are all about function. So here is your complete guide to this helpful flooring option. Safety The reason most people...